
Category: Social Studies

Building Vocabulary for Elementary-Age Students
Vocabulary is the foundation of nearly every skill children use in school. From reading...

Building Strong Little Hands Through Fine Motor Activities
Fine motor skills are the small movements we make using the tiny muscles in our hands and fingers....

Resource Spotlight: Printable Easter Coloring Sheets (Secular and Faith-Based)
Finding Easter activities that balance the "Spring/Bunny" side of the holiday with the...

Resource Spotlight: Easter Color, Cut and Paste Pattern Worksheets
A 5-Page Hands-On Pattern Pack for Homeschool, Sunday School, Christian School, and Preschool...

St. Patrick’s Day Scavenger Hunt
Overview: If you love a good scavenger hunt, then you're going to love this one featuring twelve...

St. Patrick’s Day Graphs
Overview: Coloring, counting, and graphing--valuable skills for students to learn and practice...

Label and Learn Leprechaun
Lesson Overview: As a symbol of St.Patrick's Day, the leprechaun has long been a part of Irish...
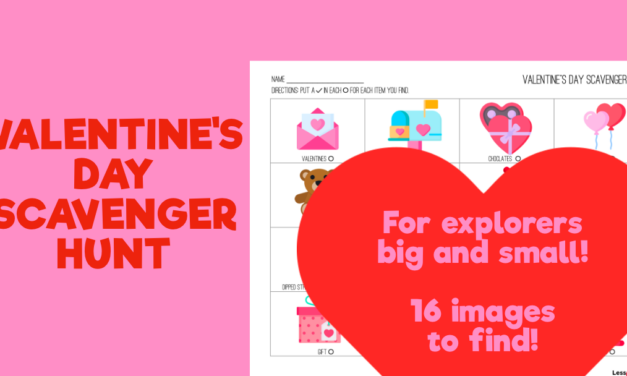
Valentine’s Day Scavenger Hunt
Overview: If you love a good scavenger hunt, then you are going to love this Valentine's Day...

Valentine’s Day Coloring Sheets
Valentine's Day is just days away, so there's not much time to get some quality coloring in! I've...
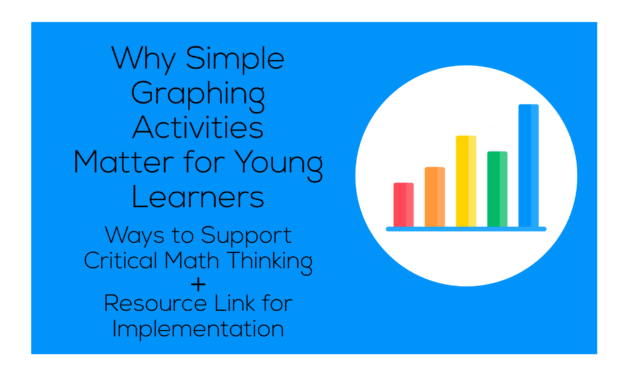
Why Simple Graphing Activities Matter for Young Learners
Graphing is often one of the first ways young children learn to organize information visually. For...
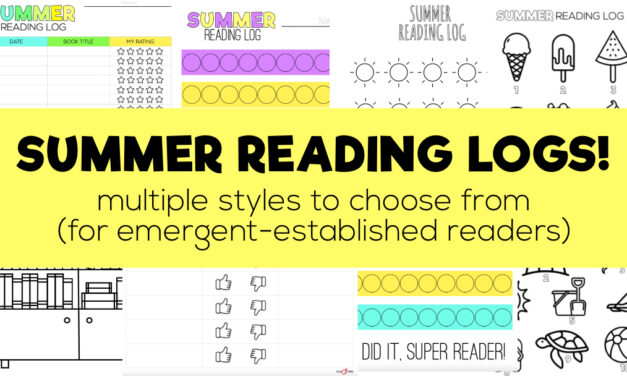
Summer Reading Logs
Overview: Using a reading log to record summer reading can be a great way to track student...
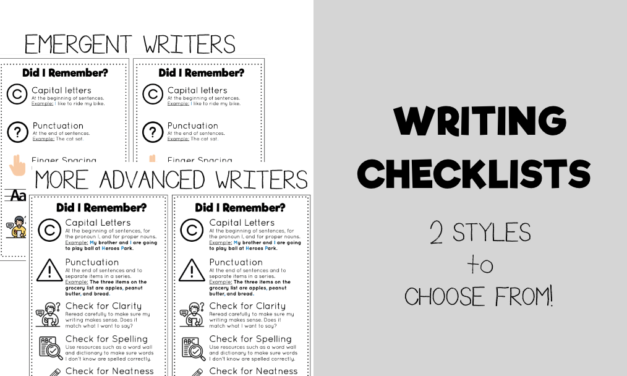
Writing Checklist
Overview: Writing checklists are a great resource for students because they help writers to...
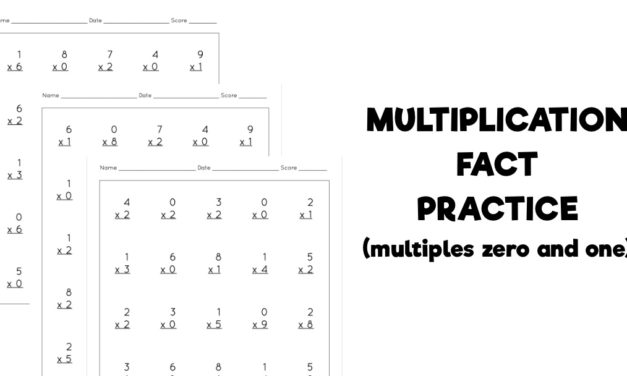
Multiplication Fact Practice (0 and 1)
Overview: Learning multiplication facts is a necessary skill for any child to understand division,...
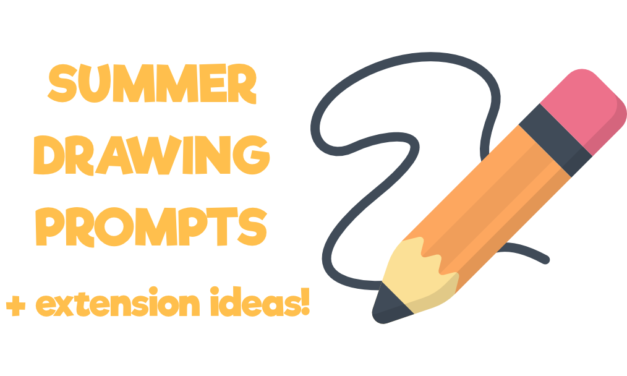
Summer Drawing Prompts
Overview: Summer is here and we're all looking for engaging activities for the kiddos. Our summer...
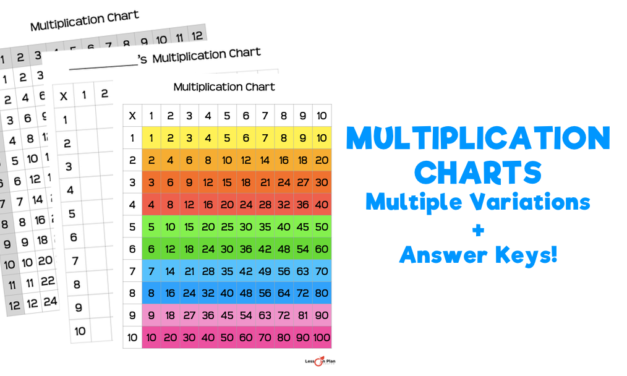
Multiplication Chart
Overview: Multiplication charts are such a valuable tool for students learning their...
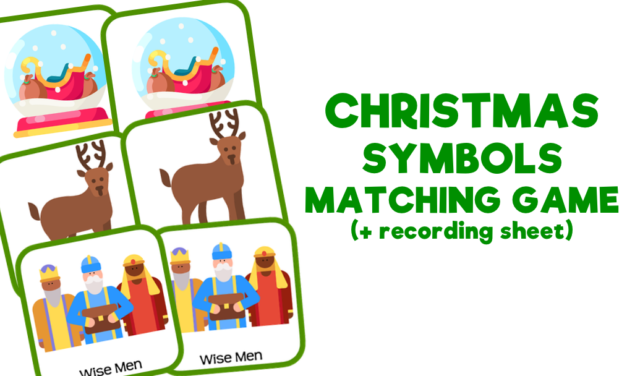
Christmas Symbols Matching Game
Overview: Be sure to add this Christmas Symbols Matching Game to your holiday fun! This colorful...
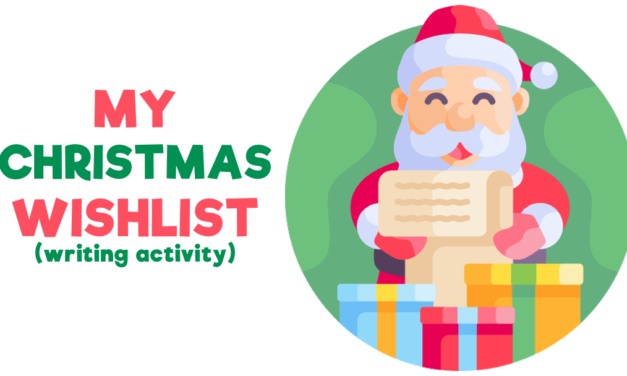
My Christmas Wishlist
Overview: Gather those Christmas ads and catalogs for this fun writing opportunity! Using the...
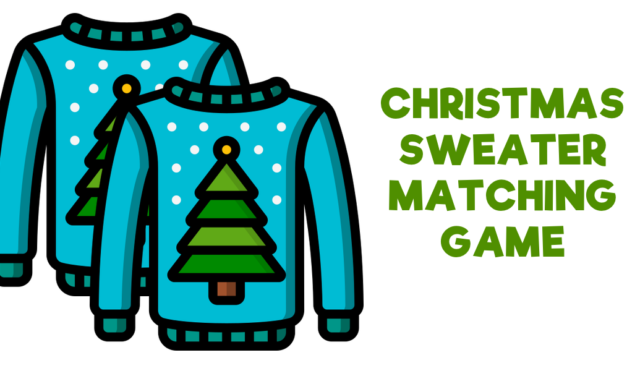
Christmas Sweater Matching Game
Overview: If you love a festive Christmas sweater, then you will love this Christmas Sweater...
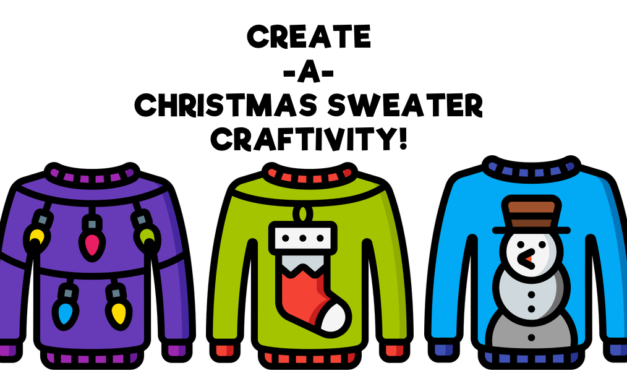
Create-A-Christmas Sweater
Overview: Make Christmas complete with the creation of this festive Christmas sweater! Below you...

Thanksgiving Coloring Sheets
Overview: These Thanksgiving coloring sheets offer a relaxed, creative activity that fits well...
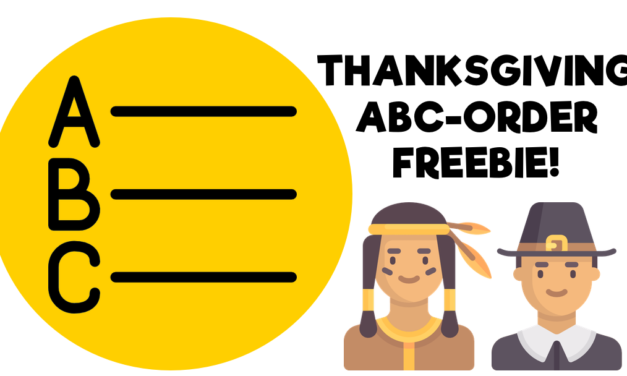
Thanksgiving ABC-Order Freebie!
The ability to put words in alphabetical order is a much-needed skill but only comes with...
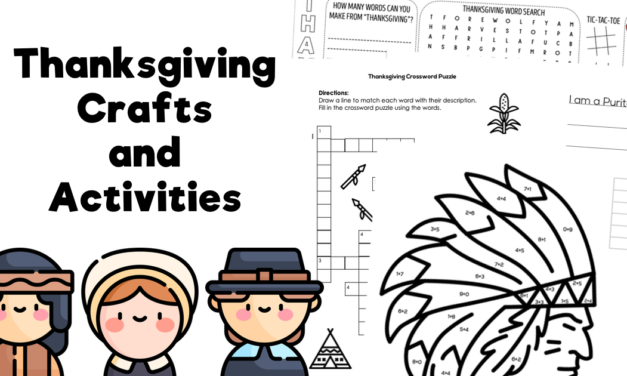
Thanksgiving Activities and Crafts
With Thanksgiving Day just days away, we have gathered all of our best activities, crafts, and...

Thanksgiving Crossword Puzzles
Overview: Crossword puzzles offer fun opportunities for students to build their vocabulary skills....
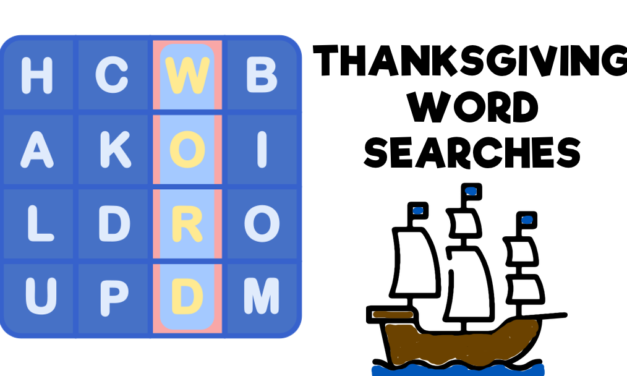
Thanksgiving Word Searches
Overview: Word searches offer such a fun way to practice reading and spelling skills. No holiday...
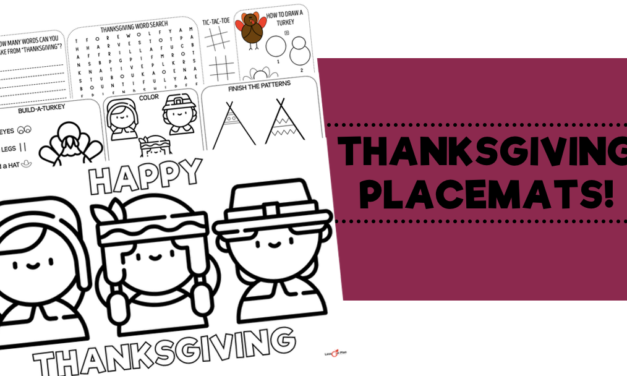
Thanksgiving Placemats
Overview: Thanksgiving dinner wouldn't be complete without these fun and engaging placemats. Below...
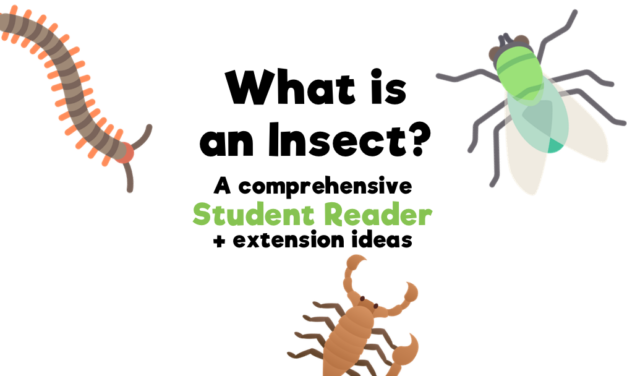
What Is an Insect?
Lesson Overview: The following resources provide a comprehensive approach to teaching what an...
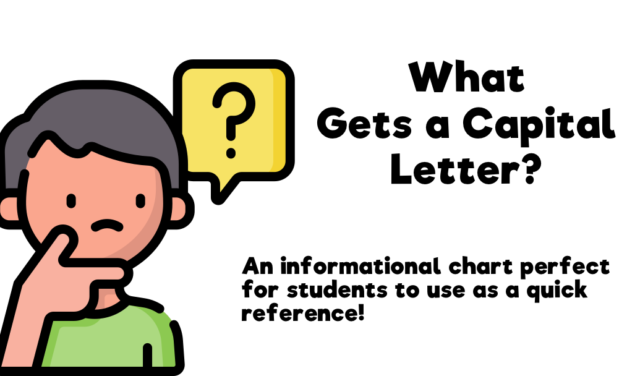
What Gets A Capital Letter? Chart
Overview: The following informational chart on what gets a capital letter is a great addition to...
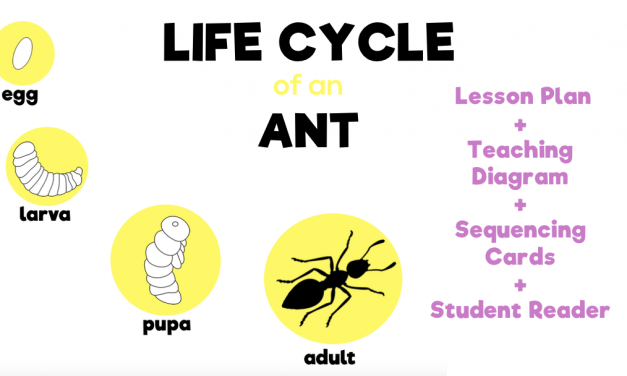
Life Cycle of an Ant
Overview: When teaching children about various insects, it is fascinating to explore the life...
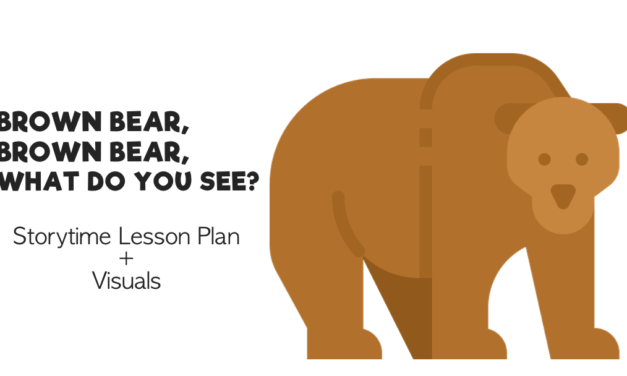
Storytime Lesson Plan for Brown Bear, Brown Bear, What Do You See?
Overview: Brown Bear, Brown Bear, What Do You See? by Bill Martin Jr. and Eric Carle is such a...
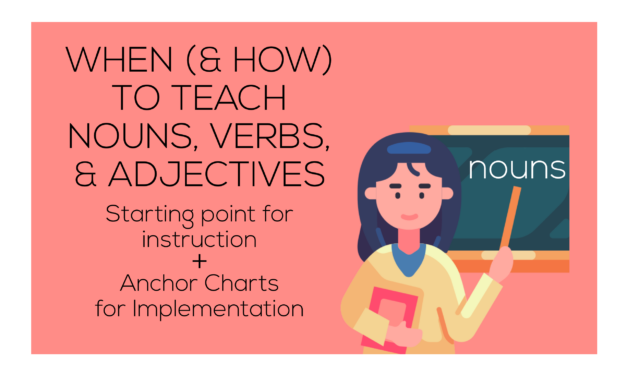
When (and How) to Teach Nouns, Verbs, and Adjectives in Elementary Classrooms
If you teach elementary students, you likely already know this truth: Grammar instruction works...
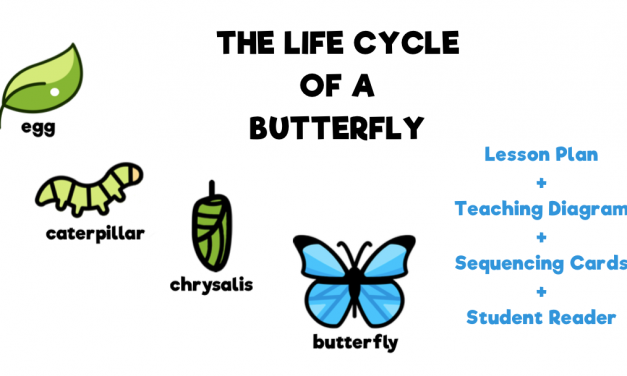
The Life Cycle of a Butterfly
Lesson Overview: The following resources provide a comprehensive lesson to teach the stages that...
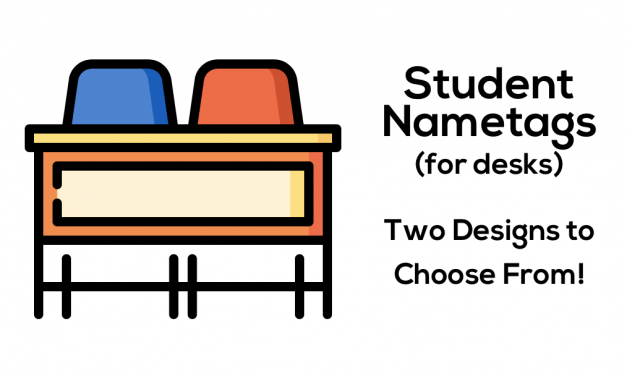
Name Tags (for Classroom Desks)
Overview: Student name tags are a great resource to have on student desks for many reasons. First...
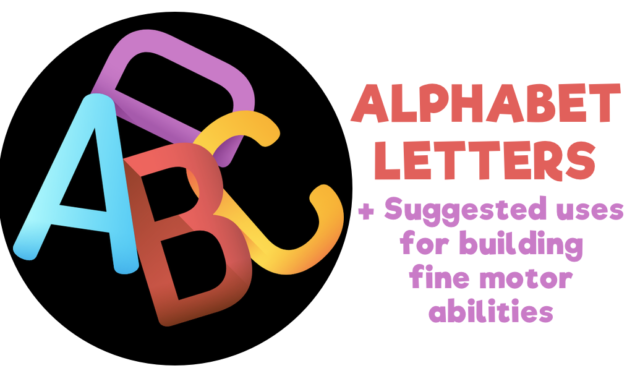
Alphabet Letters
Overview: The following alphabet letter worksheets can be used with a variety of students--little...
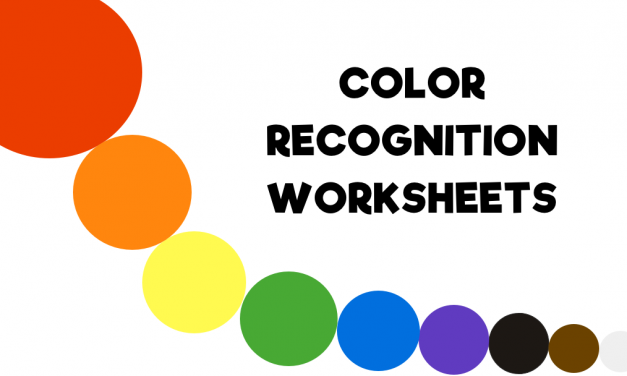
Color Recognition Worksheets
Overview: The following worksheets offer students practice in color recognition. Each practice...
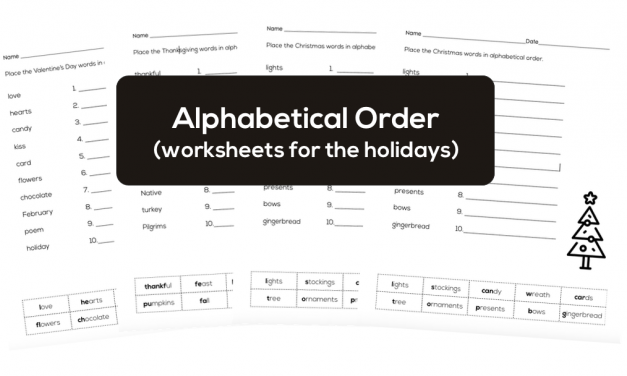
Alphabetical Order Holidays
Overview: The ability to put words in alphabetical order is a much-needed one, but only comes with...
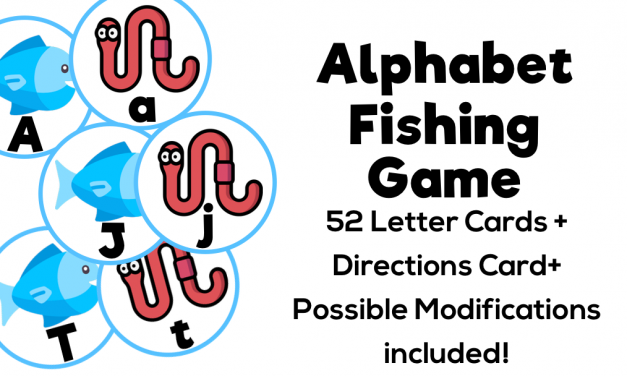
Alphabet Fishing Game
Overview: The following alphabet fishing game is a fun way for children to practice identifying...
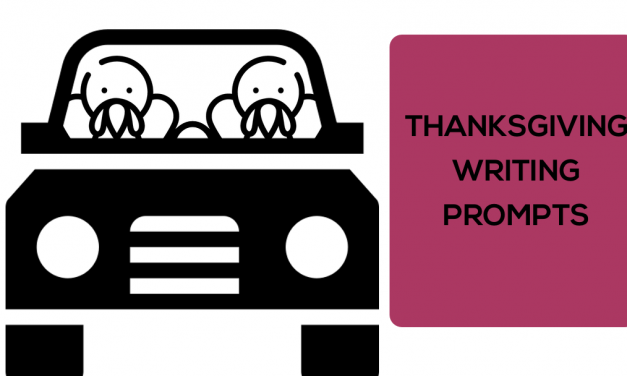
Thanksgiving Writing Prompts
Overview: Writing prompts are a fun way to get students thinking about a particular topic. The...

Color-by-Number Worksheets: More Than Just Coloring
Children can typically begin using color-by-number worksheets in prekindergarten (ages 4–5). At...
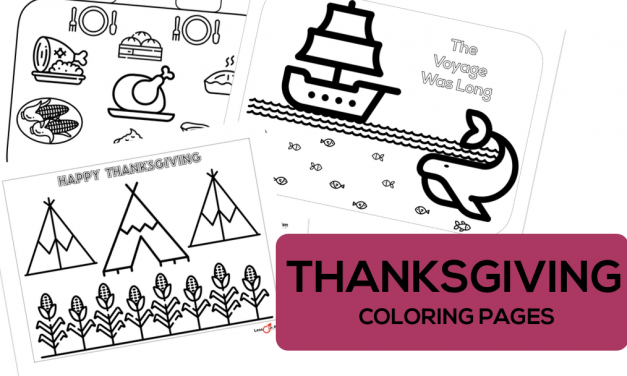
Thanksgiving Coloring Pages
Overview: Our Thanksgiving coloring pages feature popular Thanksgiving images in various designs....
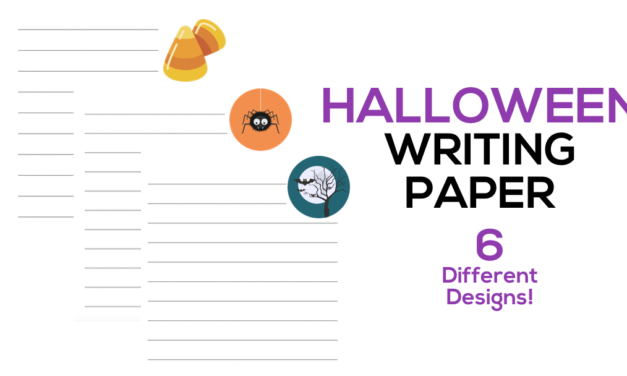
Halloween Writing Paper
Overview: The following writing pages are lined and each features a fun Halloween design to...
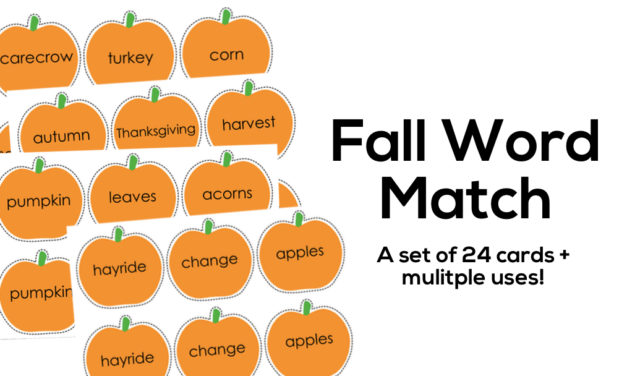
Fall Word Match
Overview: The following printable is a set of twenty-four cards that feature fall words. Once...
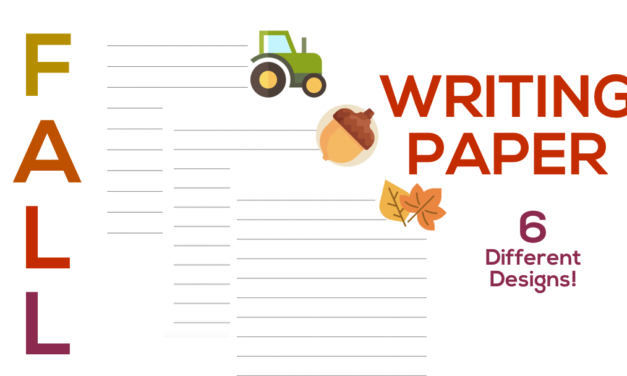
Fall Writing Paper
Lesson Overview: The following writing pages are lined and each features a fun fall design to...
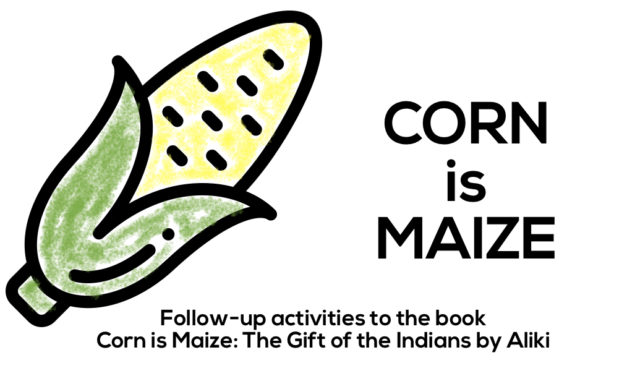
Corn is Maize Lesson Plan
Lesson Overview: Corn is one of America's biggest crops, so why not make it a part of your fall...
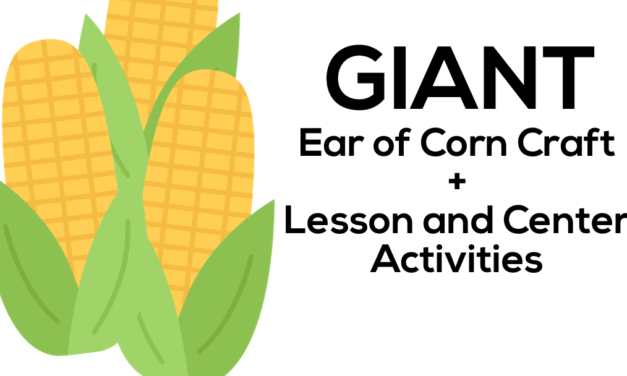
GIANT Ear of Corn Craft (+Lesson)
Overview: The following craft is a fun way to incorporate one of our largest food crops into your...
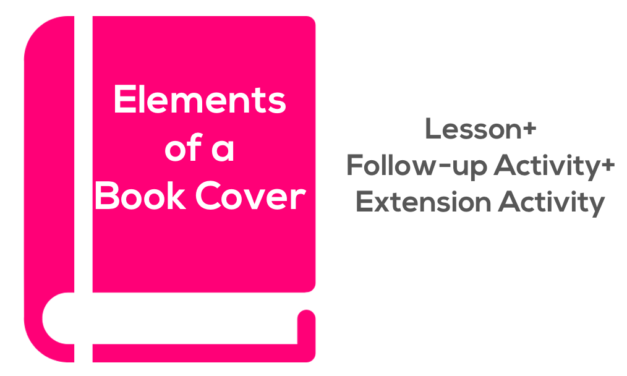
Elements of a Book Cover
Overview: A book's cover is the first encounter a student has with a particular story. The title...
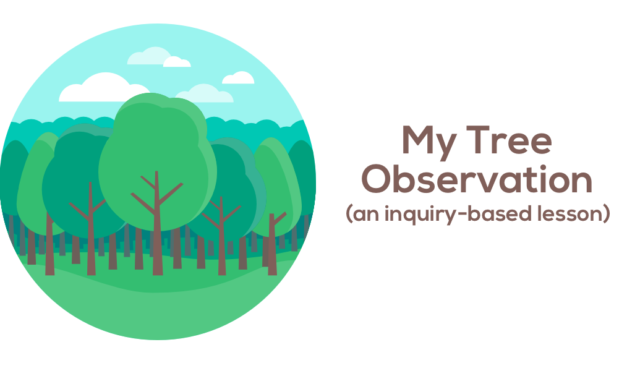
Tree Observation
Lesson Overview: Observation is a necessary skill for life and, therefore, an essential skill to...
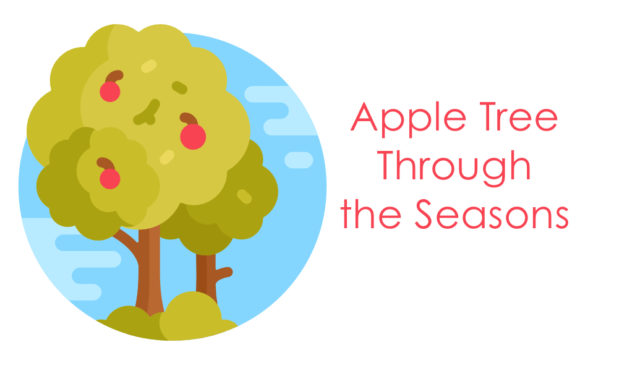
Apple Tree Through the Seasons
Lesson Overview: This lesson teaches the changes that occur in the apple tree through the four...

Fall Word Study
Lesson Overview: The following activities and worksheets provide opportunities for students to...
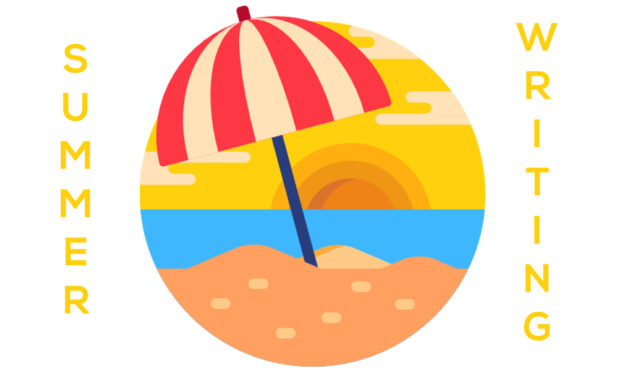
Summer Writing Prompts
Overview: Summer is a great time of year to engage a child in writing. Not only can it be fun, but...
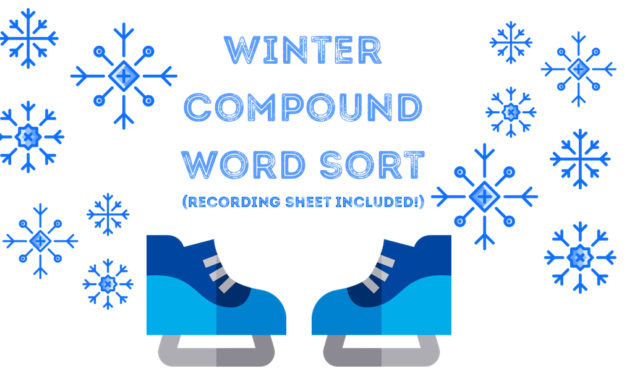
Winter Compound Word Sort
Overview: The following activity uses compound words that relate to wintertime. Simply print the...
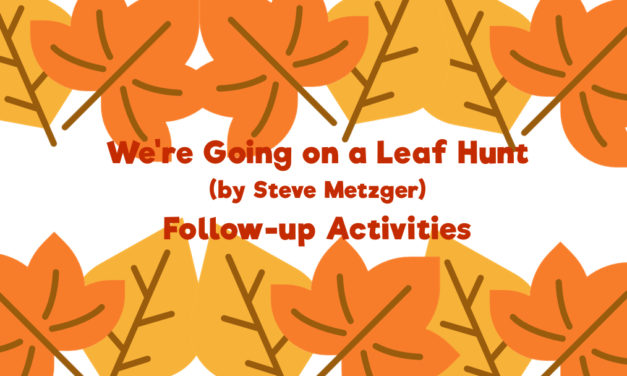
We’re Going on a Leaf Hunt Follow-up Activities
Overview: A great way to introduce children to the wonders of the fall season...We're Going on a...
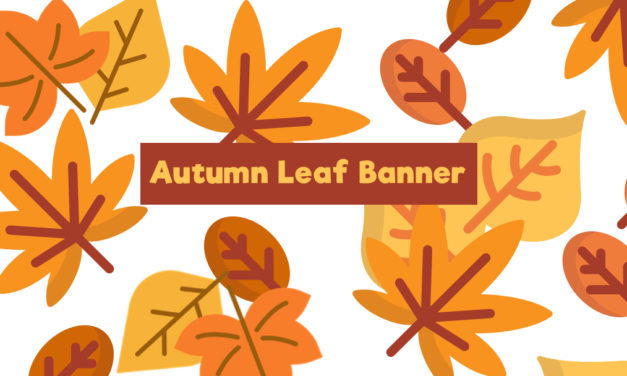
Autumn Leaf Banner
Lesson Overview: This Autumn Leaf Banner offers a fun activity that allows for creative expression...
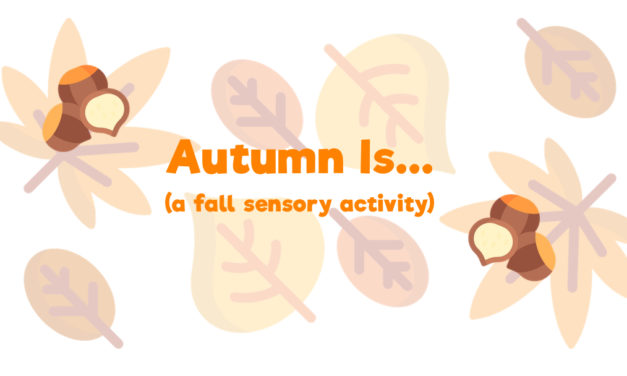
Autumn Is…Fall Activity
Lesson Overview: This fall activity is a creative and completely hands-on approach to teaching...
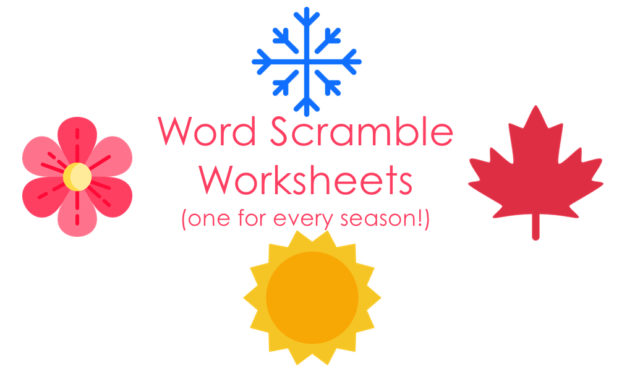
Word Scramble Worksheets (Every Season)
Overview: Word scrambles are a fun way to help children build their vocabulary and spelling...
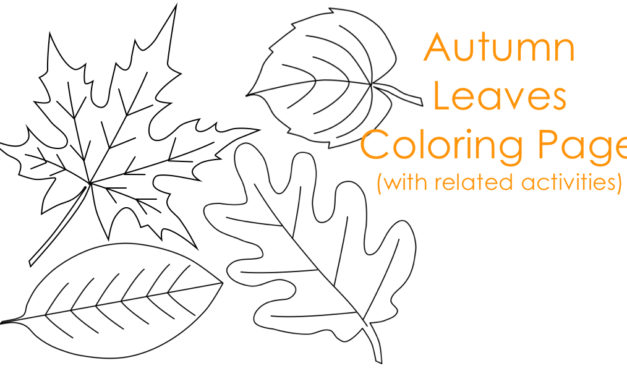
Autumn Leaves Coloring Page
Lesson Overview: The following Autumn Leaves Coloring Page offers four, black and white fall leaf...

Fall Compound Word Match
Overview: In this lesson, students are introduced to compound words by learning how two smaller...
Autumn Leaf Word Sort
Overview: In this word sorting activity, students consider words that relate to an autumn leaf and...
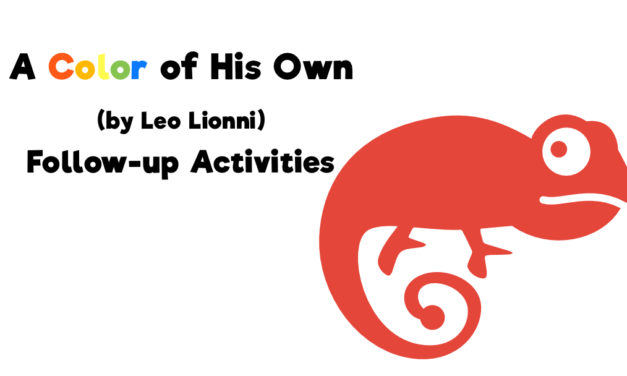
A Color of His Own Follow-up Activities
Overview: A Color of His Own by Leo Lionni is a colorful book about a chameleon who no longer...
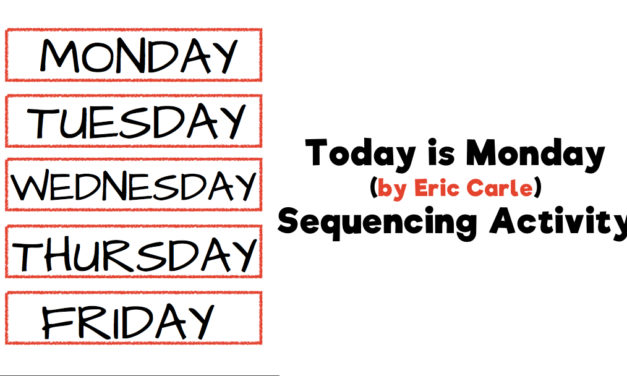
Today is Monday Sequencing Activity
Overview: The following activity can be used in conjunction with or as a follow-up to the story...
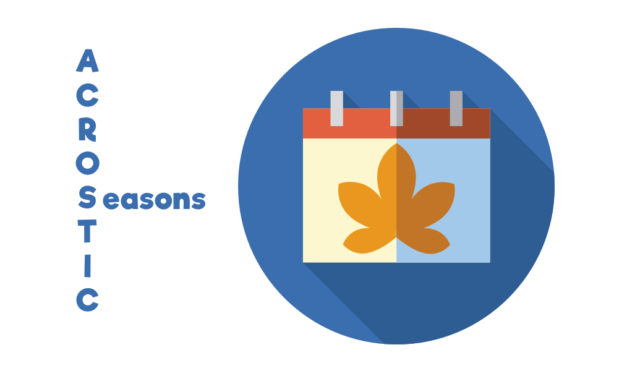
Acrostic Poem–Seasons
Overview: An acrostic poem is a fun and creative way to write about a topic. The following...
