Label and Learn Leprechaun
Lesson Overview: As a symbol of St.Patrick's Day, the leprechaun has long been a part of Irish...
Read More

Lesson Overview: As a symbol of St.Patrick's Day, the leprechaun has long been a part of Irish...
Read More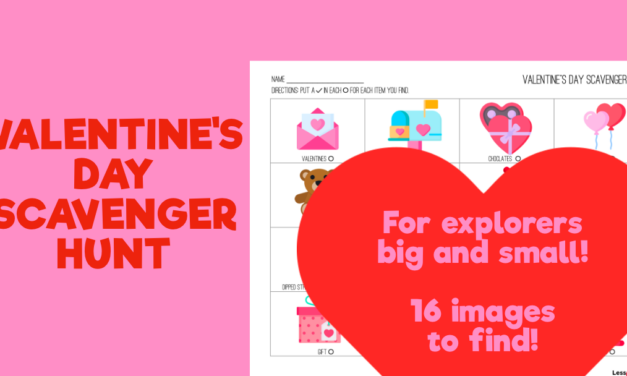
Overview: If you love a good scavenger hunt, then you are going to love this Valentine's Day...
Read More
Valentine's Day is just days away, so there's not much time to get some quality coloring in! I've...
Read More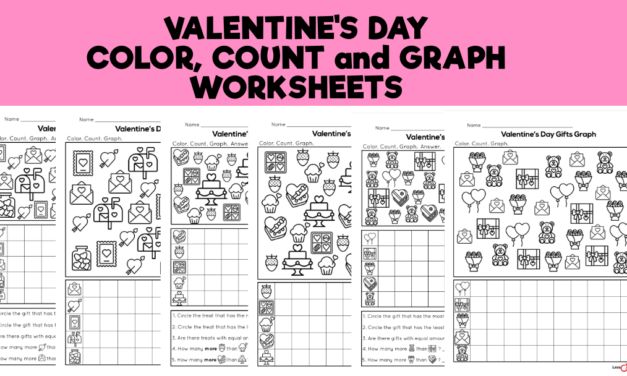
Overview: Coloring, counting, and graphing--all valuable skills for students to learn and practice...
Read More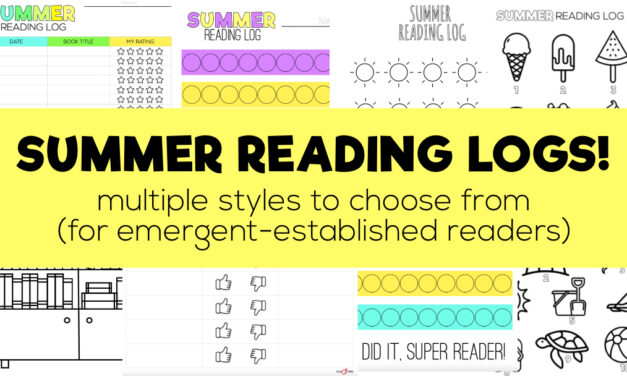
Overview: Using a reading log to record summer reading can be a great way to track student...
Read More